
Wondering how to clean up your computer — and whether it will actually make a difference?
Most people only think about it when their machine has slowed to a crawl, a storage warning pops up, or something starts behaving strangely. The good news is that cleaning up your computer is straightforward once you know what to look at. The better news is that doing it regularly prevents most of those problems from happening in the first place.
This guide covers everything — storage, software, startup programs, security, and a few things that often get missed.
Key Takeaways
- Deleting files and emptying the recycle bin is only the start – there are several layers to a proper computer cleanup
- Startup programs are one of the biggest causes of a slow computer and are easy to fix
- Uninstalling software you no longer use frees up storage and reduces your security exposure
- Dust buildup inside a computer causes overheating and can shorten its lifespan – physical cleaning matters too
- For business computers, a cleanup should always include a security check, not just a performance tune-up
Why Your Computer Slows Down Over Time

A new computer feels fast because it has plenty of free storage, a clean software environment, and no accumulated clutter. Over time, that changes. Software installs background processes that run constantly. Temporary files pile up. Browser extensions accumulate. Storage fills up, which affects performance on both traditional hard drives and SSDs.
None of this is inevitable – it’s just what happens when computers are used without any maintenance. A proper cleanup addresses each of these layers, and the difference in performance is usually noticeable immediately.
How to Clean Up Your Computer Step by Step
Step 1: Clear Out Your Storage

The first place most people start is storage, and for good reason. A computer running low on storage slows down noticeably – Windows and macOS both need free space to operate efficiently.
Start with the obvious: go through your Downloads folder, Desktop, and Documents and delete anything you no longer need. These three locations accumulate an enormous amount of forgotten files over time. Large video files, old installers, and duplicate photos are common culprits.
After clearing the obvious clutter, use your operating system’s built-in tools to go deeper.
On Windows, Storage Sense (found in Settings > System > Storage) identifies large files, temporary files, and items in the recycle bin that can be safely removed. On Mac, the Storage Management tool (Apple menu > About This Mac > Storage > Manage) does the same and also flags files you haven’t opened in a long time.
Empty the recycle bin or trash once you’re done – files sitting there still take up space until they’re permanently deleted.
Step 2: Uninstall Software You No Longer Use

Most computers accumulate software over time – trial versions, apps installed for a single task, tools that came bundled with something else. Every piece of software installed on your computer is a potential security vulnerability, especially if it’s no longer being updated.
Go through your installed programs list and remove anything you don’t recognise or no longer use. On Windows, this is under Settings > Apps. On Mac, simply drag applications from the Applications folder to the trash, then use a tool like AppCleaner to remove any leftover files.
Be thorough here. It’s not uncommon to find software installed years ago that has been quietly running in the background ever since.
Step 3: Fix Your Startup Programs

This is one of the most impactful things you can do for a slow computer and one of the most commonly overlooked. Every time you install software, it often adds itself to your startup list – meaning it launches automatically when you turn your computer on. Over time, startup times get longer and longer, and your computer feels sluggish for the first several minutes after booting.
On Windows, open Task Manager (Ctrl + Shift + Esc), go to the Startup tab, and disable anything that doesn’t need to run at startup. Common offenders include Spotify, Teams, OneDrive, Zoom, and various manufacturer utilities. Disabling something from startup doesn’t uninstall it – it just means it won’t load automatically.
On Mac, go to System Settings > General > Login Items and remove anything unnecessary from the list.
A good rule of thumb: only keep things in your startup list that you genuinely use every single day.
Step 4: Clean Up Your Browser

Browsers accumulate clutter surprisingly quickly. Cached files, cookies, saved passwords for sites you no longer visit, and browser extensions all add up – and some extensions actively slow down browsing or, worse, present security risks.
Clear your browser cache and cookies periodically. In Chrome, Edge, and Firefox this is under Settings > Privacy and Security > Clear Browsing Data. For most people, clearing cached images and files every few months is sufficient; clearing cookies logs you out of sites, so do that more selectively.
Go through your installed extensions and remove any you don’t actively use. Extensions have broad access to your browsing activity, so keeping only what you need is both a performance and a privacy decision.
Step 5: Run a Malware Scan

A slow or misbehaving computer is sometimes a performance issue – and sometimes it’s something more serious. Running a malware scan as part of a cleanup is a good habit that catches problems early.
Windows Defender, built into Windows 10 and 11, is genuinely capable and runs automatically in the background. Running a full scan manually once in a while is still worthwhile. On Mac, malware is less common but not absent – Malwarebytes offers a free scanner for Mac that’s worth running periodically.
If a scan finds something, don’t ignore it. Follow the removal steps carefully, and if you’re not confident doing so, get professional help rather than guessing.
Step 6: Update Everything

Outdated software is one of the most common ways computers get compromised. Operating system updates, application updates, and driver updates all patch security vulnerabilities that attackers actively exploit.
Check that your operating system is up to date – on Windows under Settings > Windows Update, on Mac under System Settings > General > Software Update. Check your main applications too, particularly browsers, PDF readers, and any software that connects to the internet.
If automatic updates are turned off, turn them back on. The inconvenience of an update is minor compared to the risk of running unpatched software.
Step 7: Clean the Physical Computer
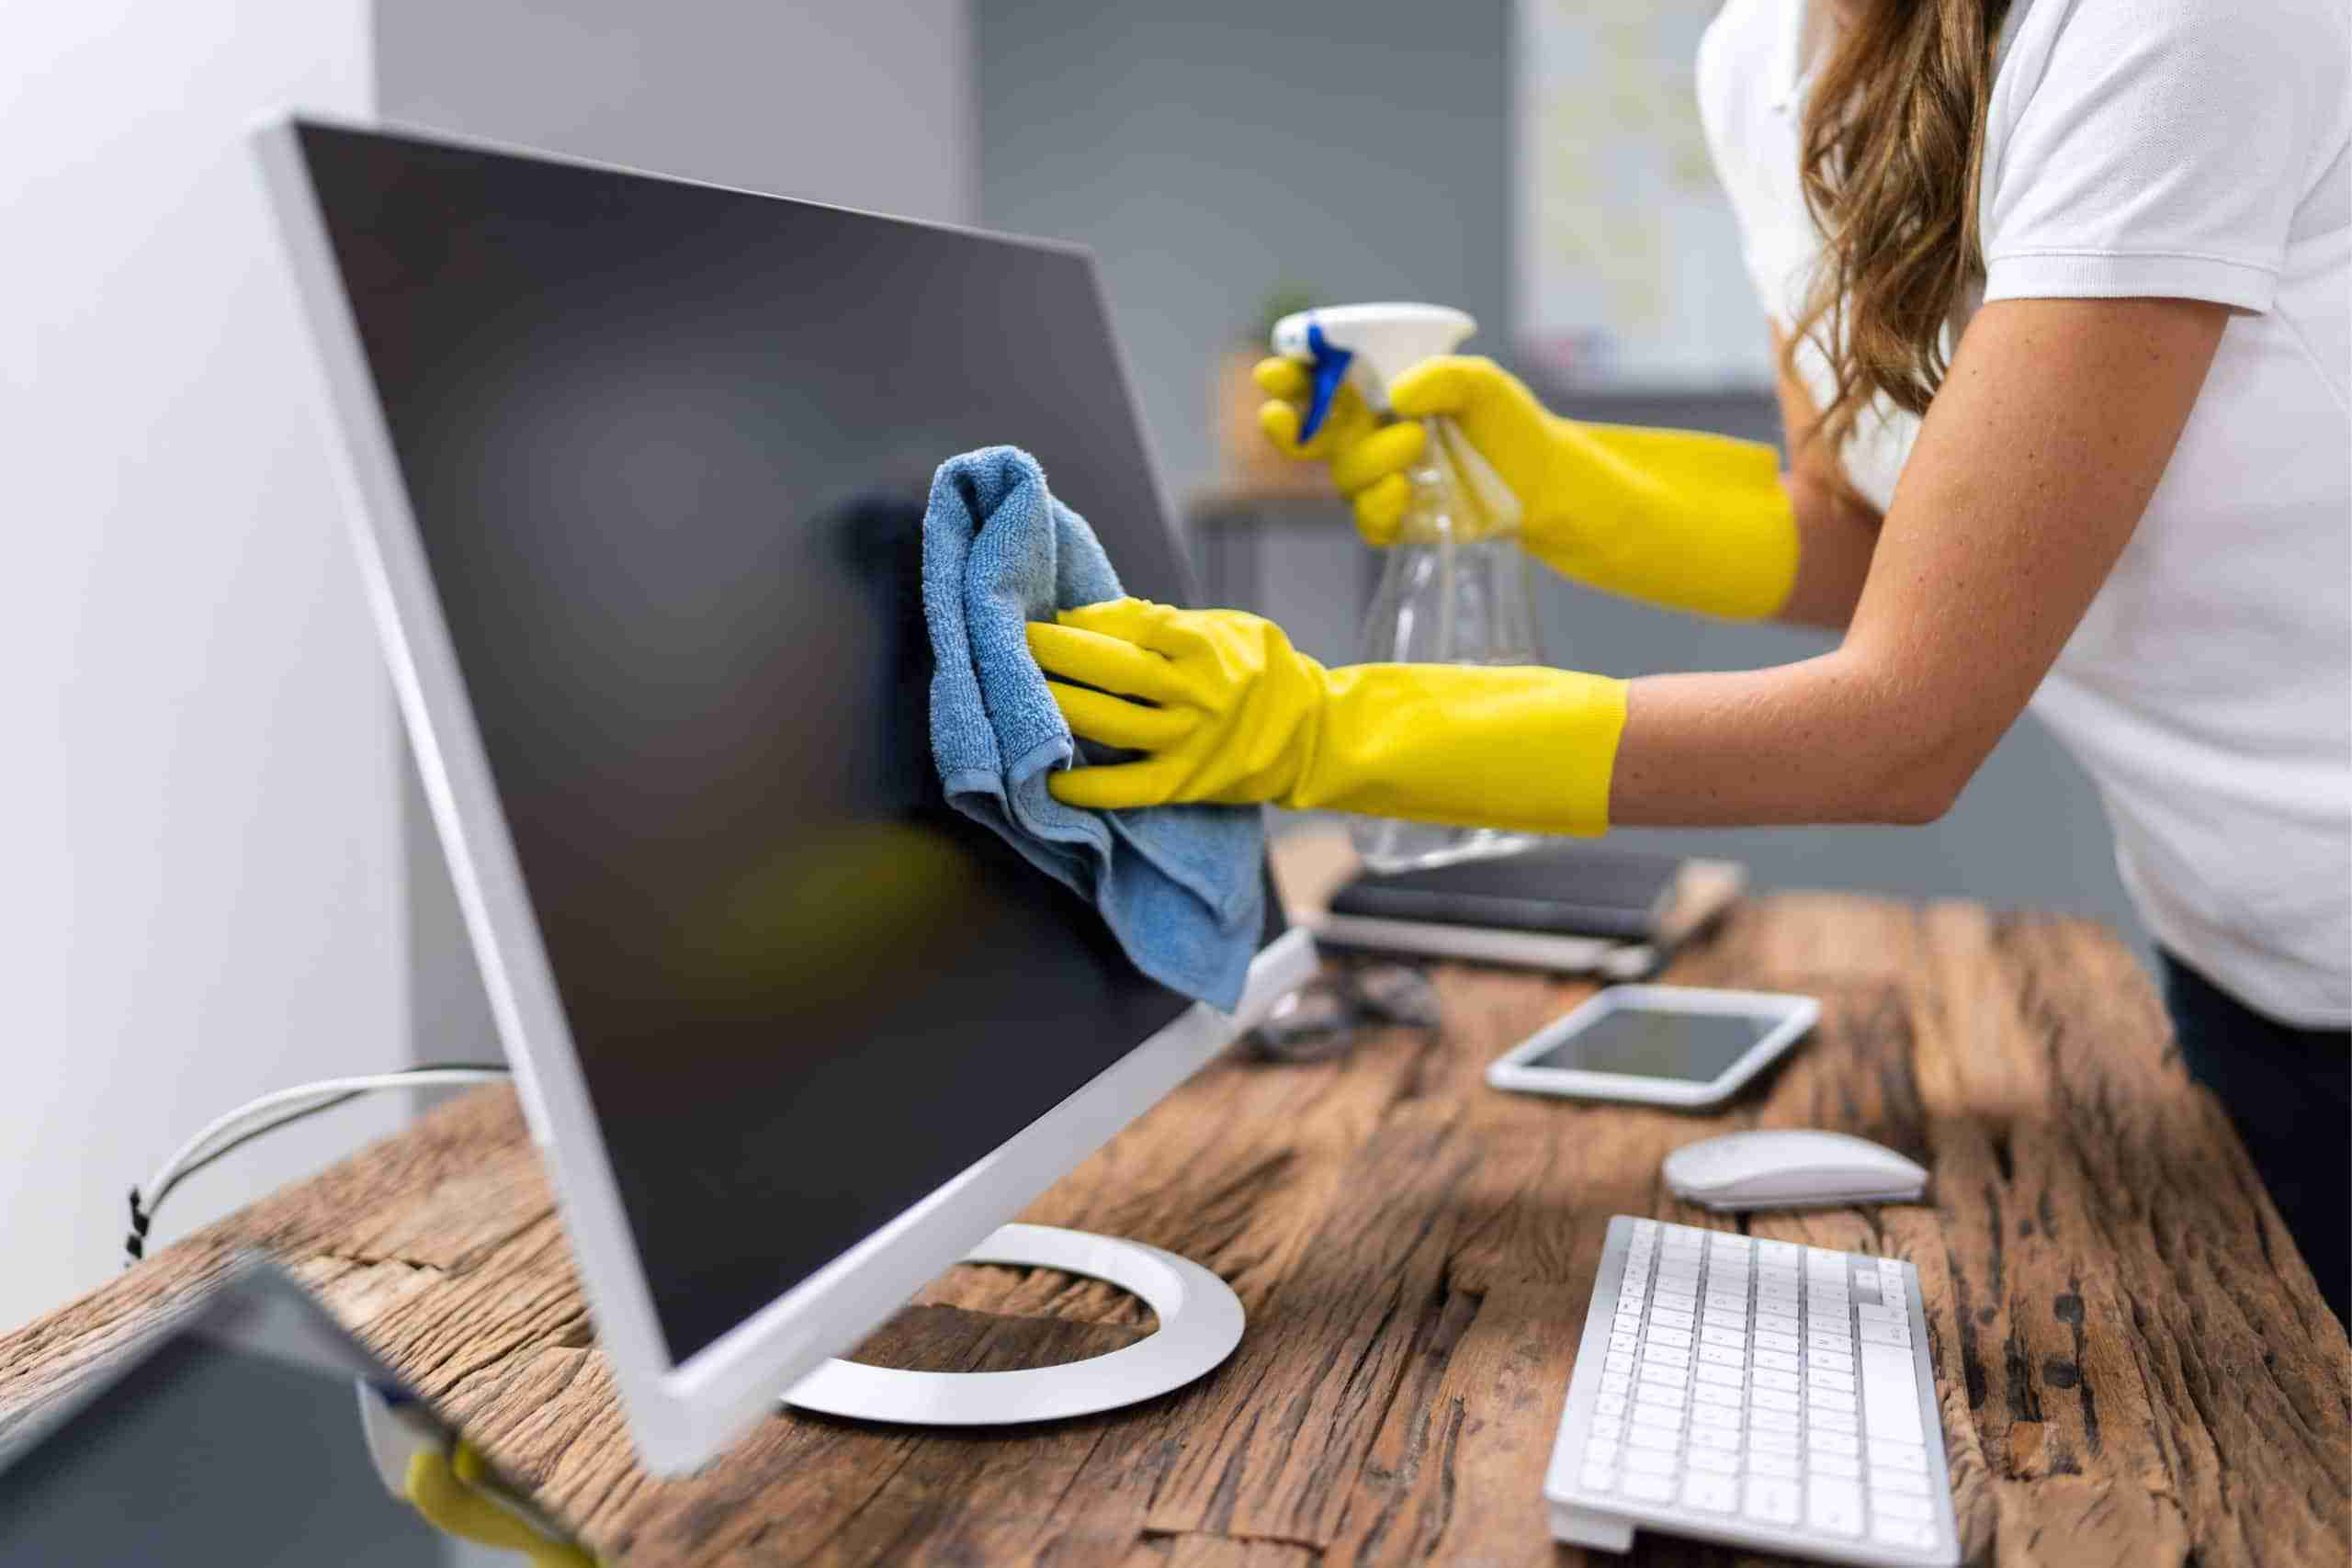
This one gets skipped entirely by most people, but it matters – particularly for desktops and older laptops. Dust accumulates inside computers and blocks the airflow that cooling fans rely on. When a computer can’t cool itself properly, it throttles performance to protect its components. In serious cases, overheating causes hardware damage.
For desktop computers, using a can of compressed air to blow out dust from vents and fans every six to twelve months makes a real difference. Laptops are harder to open safely, but keeping vents clear and using the computer on a hard flat surface rather than a bed or carpet helps significantly.
If your computer is running hot or the fans are constantly loud, dust buildup is often the cause.
What Not to Do
A few things worth avoiding when cleaning up a computer.
Registry cleaners are frequently recommended in older guides but are largely unnecessary on modern Windows systems and carry a real risk of causing problems if they remove entries they shouldn’t. Windows manages its own registry reasonably well – leave it alone.
Third-party “PC optimiser” or “speed booster” software is often more trouble than it’s worth. Many of these tools are adware in disguise, and the ones that aren’t rarely do more than the built-in tools already do for free.
Deleting system files or anything in folders like Windows, System32, or Library on Mac without knowing exactly what you’re removing can cause serious problems. Stick to user files, installed applications, and the areas described above.
How Often Should You Clean Up Your Computer?
A light cleanup – clearing downloads, emptying the recycle bin, and closing unused browser tabs – is worth doing weekly. A deeper cleanup covering storage, startup programs, installed software, and browser extensions every three to six months keeps most computers running well. A full cleanup including malware scan, updates, and physical dust removal is worth doing at least once a year.
For business computers, more frequent maintenance is worthwhile – and it should always include a security review, not just a performance tune-up. A slow business computer is an inconvenience; a compromised one is a liability.
Frequently Asked Questions
The Bottom Line
Cleaning up a computer isn’t complicated, but it does require working through several layers – storage, software, startup programs, browser, security, updates, and the physical machine itself. Doing it properly and regularly keeps computers running well and reduces the security risks that come with accumulated clutter and outdated software.
For Brisbane businesses looking after a fleet of computers rather than just one, XCD IT provides managed IT services that handle ongoing maintenance, security monitoring, and updates across your entire environment. Contact us here or call 07 3085 7447 to find out more.

Need Reliable IT Without the Surprise Costs?
With XCD IT, you get fully managed IT support for around $100–$250/month per user, with no hidden costs or unexpected bills.
Call 07 3085 7447
For urgent IT issues or immediate assistance
Our support team is ready to help.

- 8+ Best Cybersecurity Companies in Brisbane (2026 Guide for SMBs) - November 7, 2026
- 20 Best Managed IT Service Companies in Brisbane (2026 Guide for SMBs) - November 7, 2026
- Co-Managed IT: How It Works With Your In-House IT Team - November 4, 2026

